Are you struggling with your acoustic guitar recording techniques? Does your acoustic lack the width, presence, and depth that you need in your acoustics? Sure, there are plenty of mixing techniques that you can use, but nothing beats getting right at the source.
In today’s video, I discuss acoustic guitar recording techniques. Watch the video below:
Full transcript below:
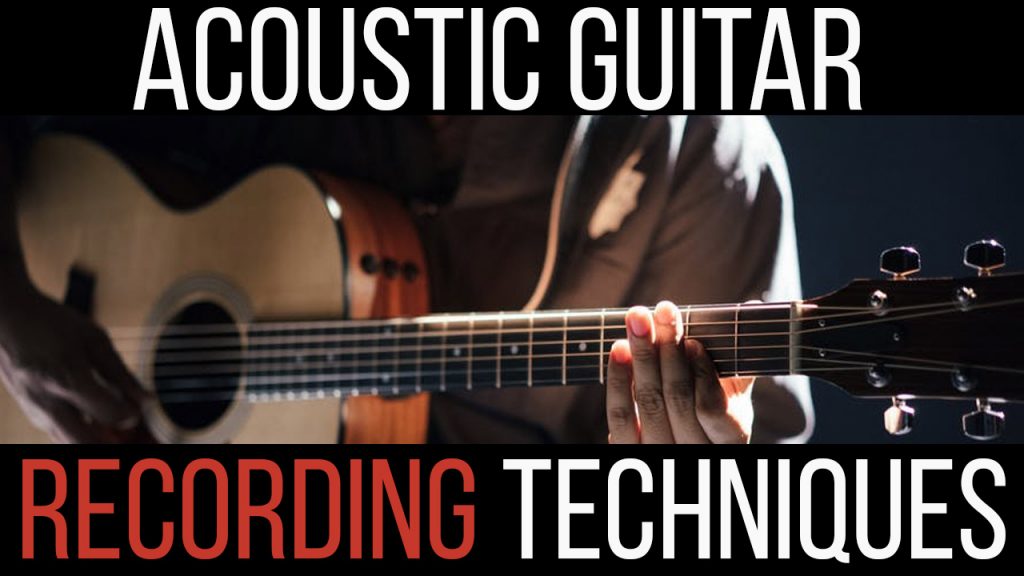
Acoustic Guitar Recording Techniques
Recording an acoustic guitar with a single microphone is a common thing for many engineers and producers. In many cases, this will sound better than plugging a cable into your acoustic guitar because that tends to sound synthetic.
Before even getting into where and why let’s point out something that you can use in ANY recording scenario. The microphone IS your ear. What do you want your listener to hear? How do YOU want the sound to be perceived? These are questions that any seasoned recording engineer or producer may ask themselves when standing in front of any instrument with a microphone.
Personally, when I record an acoustic guitar, the first thing I do is LISTEN. Listen to the instrument, have the player play, put yourself in front of the guitar and hear what the microphone is going to hear. Don’t be afraid to get on the ground and listen!
Acoustic guitars have a large frequency range. We normally don’t want too much of either.
Too many highs can give us a brittle, “thin” sound. Too many mid range frequencies can sound “boxy” or aggressive, while an abundance of lows can create a muddy and dull sound.
The sound hole is normally where the lows come out, and the further you move from the sound hole up the neck will become thinner and brighter. Also by the other end of the guitar where the bridge is, the sound can be brighter as well.
The point is to reach a balance of lows and highs. If you count up the neck from where the tuning pegs are to the 12th fret and point the mic there at a 45-degree angle opposite of the sound hole, you can start there and change the position once you hear it through mic: closer to the hole for lows, further away for highs.
Closer to the source will give you more “punch” and further away will give you more depth and realism.
Don’t forget the most important step. LISTEN LISTEN LISTEN!